
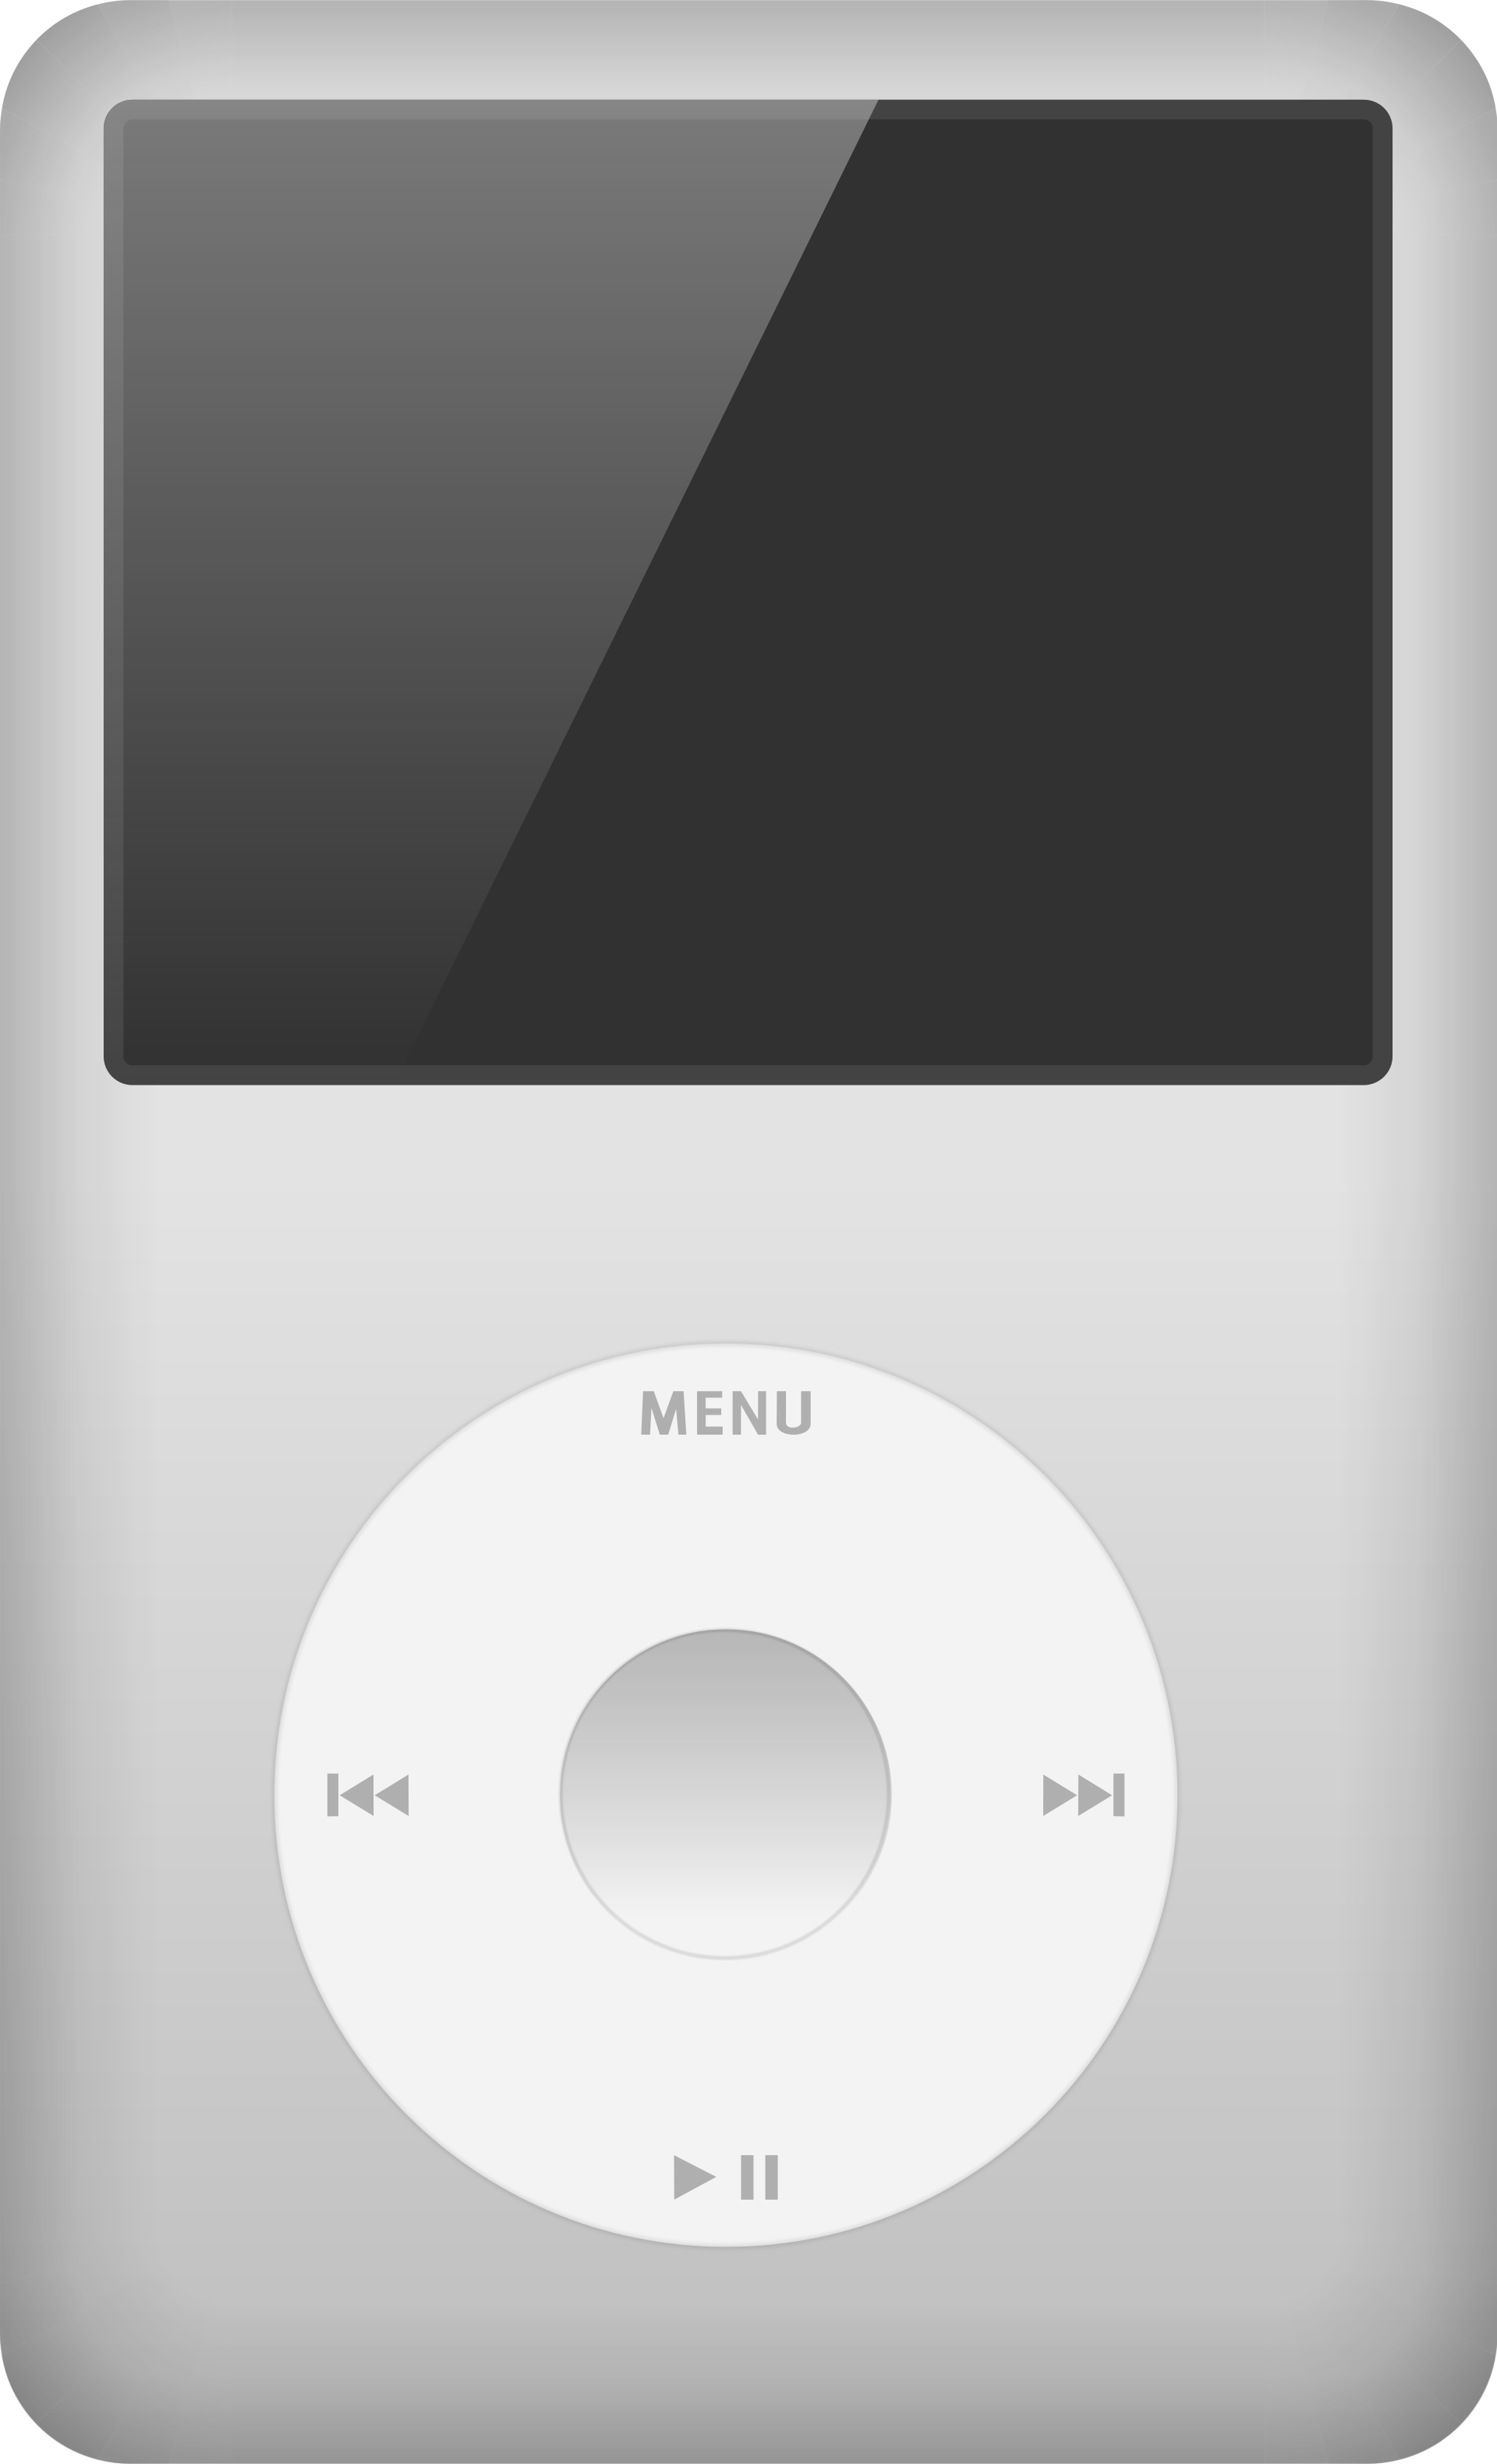
iPod 最伟大的设计即是它提供的 ClickWheel 转盘交互,它是 iPod 的核心竞争力。
在近年智能手机流行后, iPod 就逐渐淡出大众了, 但是它所代表的产品精神 / 体验让我着迷,因此我决定在屏幕上也实现一个 ClickWheel 交互手势。
在近年智能手机流行后, iPod 就逐渐淡出大众了, 但是它所代表的产品精神 / 体验让我着迷,因此我决定在屏幕上也实现一个 ClickWheel 交互手势。
# 极坐标系 ↵
很显然,屏幕上的鼠标/手指操作是 ClickWheel 的超集, 也就是说 touch 和 mouse 事件组完全能模拟出转盘手势,为了后续方便处理,首先我们需要抹平两个事件组的差异 —— 需要数抹平
MouseEvent
和 TouchEvent
的差异并从中取出点击的位置坐标:00// get-event-point.ts 01 02/** 二维坐标系中的点 */ 03export interface Point2D { 04 x: number; 05 y: number; 06} 07 08export type FingerEvent = TouchEvent | MouseEvent; 09 10/** 11 * 抹平 touch 和 mouse 事件 12 * 统一返回事件发生的 Point2D 坐标点 13 */ 14export function getEventPoint(e: FingerEvent): Point2D { 15 e.preventDefault(); 16 if (e instanceof TouchEvent) { 17 return { 18 x: e.touches[0].clientX, 19 y: e.touches[0].clientY, 20 } 21 } 22 23 return { 24 x: e.clientX, 25 y: e.clientY, 26 }; 27} 28 29/** 30 * 从 touch 或者 mouse 事件中解析出 Point2D 出来 31 * 这个 Point2D 是以 div 的中心点为原点的 32 */ 33export function getDivPoint(div: HTMLElement, ep: Point2D) { 34 const rect = div.getBoundingClientRect(); 35 // 算出相对位置 36 const offsetX = ep.x - rect.x; 37 const offsetY = ep.y - rect.y; 38 39 // 需要以 div 的中心点为原点, 这样才方便调用 toPolarPoint 40 const x = offsetX - (rect.width / 2); 41 // 为什么是负数呢, 因为浏览器坐标系左上角是原点 42 const y = - (offsetY - (rect.height / 2)); 43 44 return { x, y } 45}
考虑到转盘手势核心参数是
转动角度
, 此概念在二维坐标系中不能直接描述, 需要取出 x y 进行计算得到,为了实现的简洁和外部使用方便,最好使用 极坐标系
来实现和构造 ClickWheel 手势。极坐标系如下左图所示, 从 P1 转动到 P2, 如下左图所示,其中
(∠A, r1)
代表 P1 点相对于圆心 x 轴的角度, r1 代表离圆心的距离。loading...

loading...

上右图也表明了,由于圆的周期性质,从 P1 到 P2 可以有无数种方式,比如转三圈后再转一个锐角这样,或者逆时针转一个钝角,这样的周期性质还会导致反三角函数求不出大于 180 度的角,需要手动去加一个半圆
下图描述了从 P0 转到 P1 再到 P2 的过程, 由于周期性的原因,用反三角函数计算 P2 的极坐标角度的时候
∠1+∠2
的计算结果跟 ∠1
一样 (其实算出来的结果就是 ∠3),因此需要在代码里额外判断当 y<0
的时候计算 ∠3 的补角。loading...

从上面的讨论中,可以得到极坐标系的类型定义
PolarPoint
以及转换:00// polar-point.ts 01import { Point2D } from './get-event-point'; 02 03/** 极坐标系中的点 */ 04export interface PolarPoint { 05 angle: number; 06 radius: number; 07} 08 09/** 将二维坐标 Point2D 转为以原点 (0,0) 为中心的极坐标系 */ 10export function toPolarPoint(p: Point2D) { 11 const { x, y } = p; 12 13 // 三角函数计算构造极坐标点 14 const radius = Math.sqrt(x * x + y * y); 15 const pp: PolarPoint = { 16 angle: (Math.acos(x / radius) * 180 / Math.PI), 17 radius, 18 } 19 20 // 圆的周期性质会导致在第三第四象限计算的角度始终在 0,180 度内 21 // 这种情况应该计算补角 22 if (y < 0) pp.angle = 360 - pp.angle 23 24 // 保证顺时针方向为正 25 pp.angle = 360 - pp.angle; 26 return pp; 27}
# 状态定义 ↵
先设计类型,由上面的分析决定使用极坐标系来描述 ClickWheel 手势,基于 ADT 的思想进行设计可得:
00// clickwheel-state.tsx
01import { PolarPoint } from './polar-point';
02
03export type ClickWheelState =
04  // 未激活
05  | null
06  // 滑动中
07  | {
08    type: 'dragging';
09    /** 起始点 */
10    start: PolarPoint;
11    /** 结束点 */
12    current: PolarPoint;
13  }
为了方便调试, 还需要有一个打印
ClickWheelState
的组件:00import React from 'react'; 01import { ClickWheelState } from './clickwheel-state'; 02 03export function RenderClickWheelState( 04 props: { state: ClickWheelState } 05) { 06 const { state } = props; 07 const dangle = state 08 ? state.current.angle - state.start.angle 09 : 0; 10 11 const t1 = `移动角度: ${dangle}`; 12 const t2 = `当前选中: ${renderSelect(dangle)}`; 13 14 return ( 15 <div> 16 <div>{t1}</div> 17 <div style={{ fontSize: '2rem' }}>{t2}</div> 18 </div> 19 ) 20} 21 22const DICT = `ABCDEFGHIJKLMNOPQRSTUVWXYZ01234567890` 23function renderSelect(angle: number) { 24 const n = Math.floor(angle / 30); 25 const idx = n % DICT.length; 26 if (idx < 0) return DICT[DICT.length + idx]; 27 return DICT[idx] 28}
在上述
RenderClickWheelState
中, 当状态变化, current 移动角度增大后, 对于渲染会顺序循环选择 DICT
中的元素来展示# 完整实现 & Demo ↵
移动角度: 0
当前选中: A
完整实现如下, 注意其中换圈的逻辑 (不过我感觉有更好的办法, 目前还不够简洁)
000// use-clickwheel.tsx
001import React from 'react';
002import { toPolarPoint } from './polar-point';
003import { ClickWheelState } from './clickwheel-state';
004import {
005  getEventPoint,
006  getDivPoint,
007  FingerEvent,
008} from './get-event-point';
009
010/**
011 * 为 elemRef 处理 clickWheel 相关事件状态
012 * @param elemRef 比如一个正方形 div ref
013 * @param onSubmit 当 touchend/mouseup 结束事件的时候传出最后一次状态
014 * @returns
015 */
016export function useClickWheel(
017  elemRef: React.RefObject<HTMLElement>,
018  onSubmit: (state: ClickWheelState) => void
019) {
020  const [state, setState] = React.useState<ClickWheelState>(null);
021
022  React.useEffect(() => {
023    const elem = elemRef.current;
024    if (!elem) return;
025
026    // 记录当前转了多少圈
027    let circle = 0;
028
029    const onStart = (e: FingerEvent) => {
030      const ep = getEventPoint(e);
031      const p = getDivPoint(elem, ep);
032      const pp = toPolarPoint(p);
033
034      // 重置状态
035      circle = 0;
036      setState({
037        type: 'dragging',
038        start: pp,
039        current: pp,
040      });
041    }
042
043    const onMove = (e: FingerEvent) => {
044      const ep = getEventPoint(e);
045      const p = getDivPoint(elem, ep);
046      const pp = toPolarPoint(p);
047
048      setState(prev => {
049        if (!prev) return null;
050
051        // 圈数多的时候 prev.current.angle 将会大于 360
052        // 需要划定在 [0,360) 之间
053        let prevCurrentAngle = prev.current.angle % 360;
054        if (prevCurrentAngle < 0) prevCurrentAngle += 360;
055
056        // 经过极坐标系 0 度的时候会突变, 此时需要记录圈数
057        let dangle = pp.angle - prevCurrentAngle;
058        let dcircle = 0;
059
060        // 说明是顺时针过 0 点
061        if (dangle <= -330) {
062          dcircle = 1;
063          console.log('+1'); // 方便调试
064        }
065
066        // 说明是逆时针过 0 点
067        if (dangle >= 330) {
068          dcircle = -1;
069          console.log('-1'); // 方便调试
070        }
071
072        const nextCircle = circle + dcircle;
073        circle = nextCircle;
074        // 最新值写入, 下次 onMove 会用
075        pp.angle = nextCircle * 360 + pp.angle;
076
077        return {
078          type: 'dragging',
079          start: prev.start,
080          current: pp,
081        }
082      })
083    }
084
085    const onEnd = (e: FingerEvent) => {
086      setState((prev) => {
087        // 将最后一次状态提交出去
088        onSubmit(prev);
089        return null;
090      });
091    }
092
093    // 需要禁用 passive
094    const options = { passive: false }
095    elem.addEventListener('touchstart', onStart, options);
096    elem.addEventListener('touchmove', onMove, options);
097    elem.addEventListener('touchend', onEnd, options);
098    elem.addEventListener('touchcancel', onEnd, options);
099
100    // mouse 事件组
101    elem.addEventListener('mousedown', onStart, options);
102    elem.addEventListener('mousemove', onMove, options);
103    elem.addEventListener('mouseup', onEnd, options);
104    elem.addEventListener('mouseleave', onEnd, options);
105
106    // 取消副作用
107    return () => {
108      elem.removeEventListener('mousedown', onStart);
109      elem.removeEventListener('mousemove', onMove);
110      elem.removeEventListener('mouseup', onEnd);
111      elem.removeEventListener('touchstart', onStart);
112      elem.removeEventListener('touchmove', onMove);
113      elem.removeEventListener('touchend', onEnd);
114    }
115  }, [elemRef.current]);
116
117  return {
118    state,
119  }
120}
# 结尾 ↵
至此实现了一个基本的
ClickWheel
转盘架子, 就完成度来说还差一点, 还缺一些能力, 比如提供 onClick
、防误触
等等,不过这些倒不是最核心的就是了。